Hatching Chickens in 5 Easy Steps
Get Ready to hatch!
Hatching chickens is a rewarding experience for farmers and homesteaders alike. Watching chicks develop from eggs to fluffy little birds is both exciting and fulfilling. However, it can be a delicate process that requires some attention to detail. In this article, we will discuss five essential steps to hatching chickens successfully.
Step 1: Choosing Fertile Eggs
The first step to hatching chickens is to choose fertile eggs. If you have your own chickens, you can collect eggs from your own flock. Otherwise, you can purchase fertilized eggs from a reputable hatchery. It’s essential to ensure that the eggs are no more than seven days old, as older eggs have a lower hatch rate. You can check whether an egg is fertile by using a process called candling, which involves shining a bright light through the egg to see if there is a developing embryo.
In our case, we have a rooster and know that most eggs we were getting were fertile. The way to know if you have a fertile egg when cracking them is you will see a bullseye on the egg yolk. Once we knew we had mostly fertile eggs we selected 41 eggs that were less than 7 days old to place in the incubator!

Step 2: Incubation
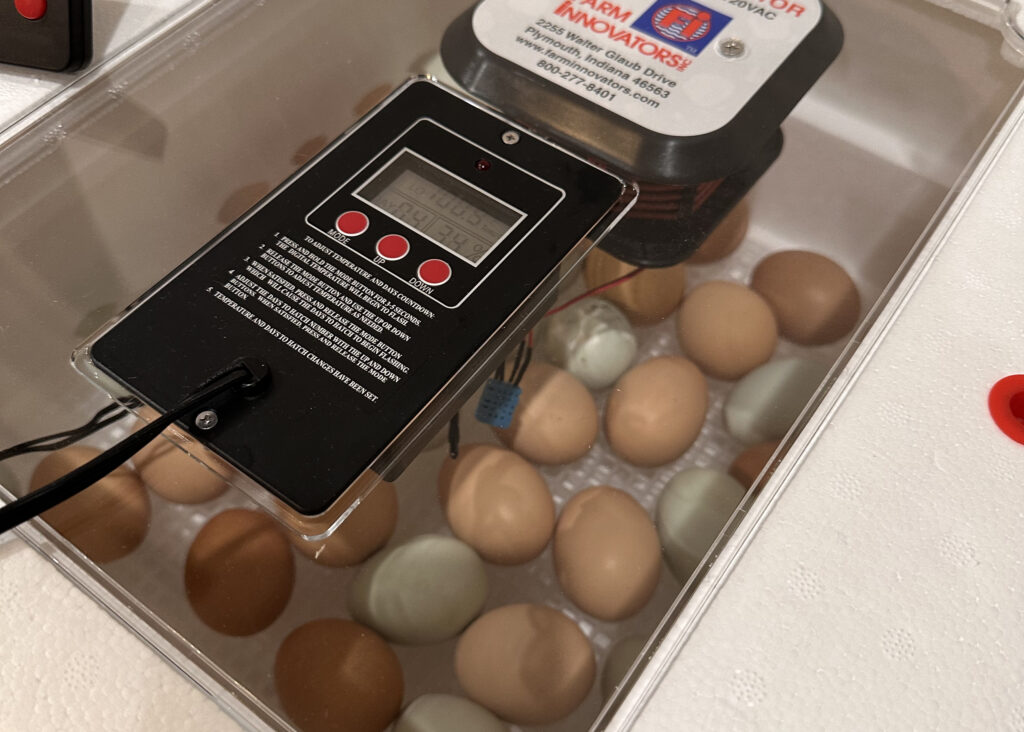
Once you have selected fertile eggs, the next step is to incubate them. You can use an incubator or a broody hen for this process. If you choose to use an incubator, set it up according to the manufacturer’s instructions, and ensure that the temperature and humidity levels are correct. The ideal temperature for incubation is between 99 and 102 degrees Fahrenheit, and the humidity level should be around 50%. Turn the eggs several times a day to ensure that the developing embryo does not stick to the shell or get an egg turner for the incubator!
I purchased this incubator and it was suggested I get an additional digital thermometer/hygrometer which I was glad I did since the temp and humidity varied between the two quite a bit. I used the extra one not the one on the incubator throughout. My incubator also had an automatic turner so I didn’t have to worry about turning them.
Step 3: Candling
Once you have selected fertile eggs, the next step is to incubate them. You can use an incubator or a broody hen for this process. If you choose to use an incubator, set it up according to the manufacturer’s instructions, and ensure that the temperature and humidity levels are correct. The ideal temperature for incubation is between 99 and 102 degrees Fahrenheit, and the humidity level should be around 50%. Turn the eggs several times a day to ensure that the developing embryo does not stick to the shell.
Candler that I purchased This part was really tricky for me! I was so nervous that I would drop them and I did drop one…ugh! I did hatch but that baby only made it a day and a half. I don’t know if it had anything to do with me dropping the egg.
Step 4: Lockdown
Around 18 days after incubation, it’s time for lockdown. During this stage, the eggs should be left untouched and the humidity level should be increased to around 70%. This is a crucial time as the chicks are beginning to prepare for hatching and need the increased humidity to properly develop and hatch. The chicks will begin to pip through the shell around the 20th day, which is a sign that they are getting ready to hatch. It’s important to maintain the humidity level and avoid opening the incubator during this time as it can disrupt the hatching process and harm the chicks. Additionally, during the lockdown stage, it’s recommended to monitor the temperature closely and make any necessary adjustments to ensure the best possible environment for the chicks to hatch and thrive. By following these steps, you can increase the chances of a successful hatch and ensure the health and well-being of your chicks.
Step 5: Hatching
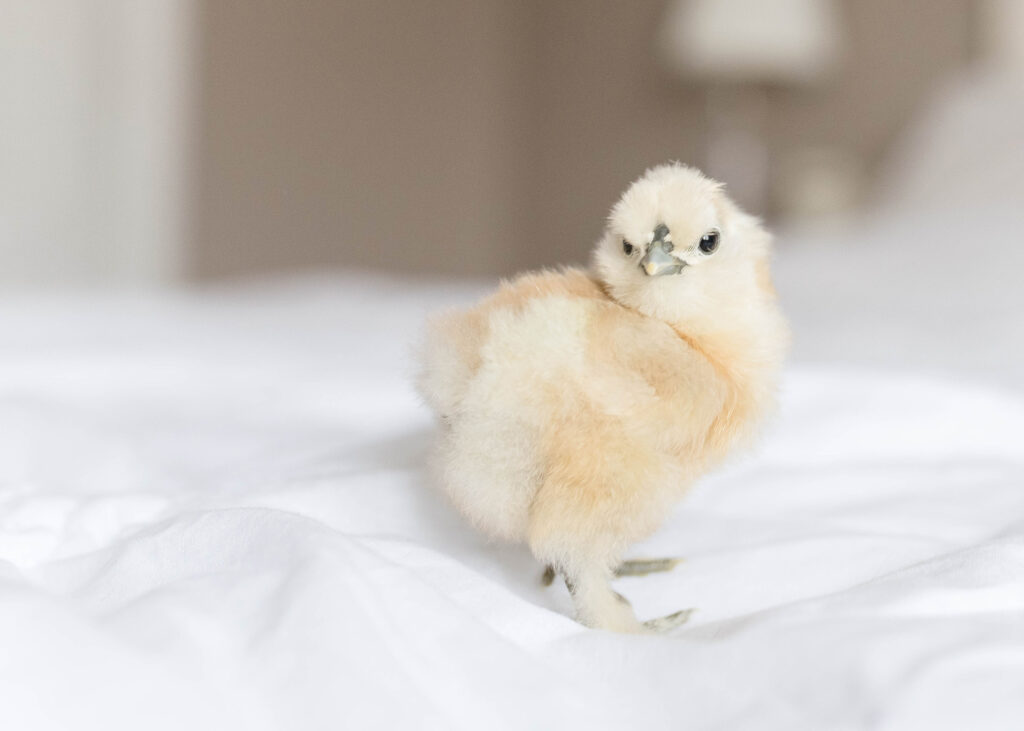
The final and best step in hatching chickens is the hatching process itself. Once the chicks start to pip, it can take anywhere from 12 to 24 hours for them to fully hatch. It’s essential to resist the urge to help the chicks out of their shells, as they need to go through the hatching process to develop properly. Once they have hatched, move them to a warm and dry brooder where they can rest and recover from the hatching process.
The incubator will get extremely humid when they start to hatch! Keep a close eye on the humidity at this point. I did need to remove the plugs to allow the moisture to escape. I also had to keep a close eye on the temperature at this point. Things started to change rapidly! The remaining eggs still need to be at the ideal temp and humidity. I also didn’t remove my first hatched chicks for almost 48 hours. I did wind up opening the incubator to allow some to head to the brooder. I don’t think I would do that again in hind site. That’s when my hatching slowed down and only a few more eggs hatched.
How my first hatch went
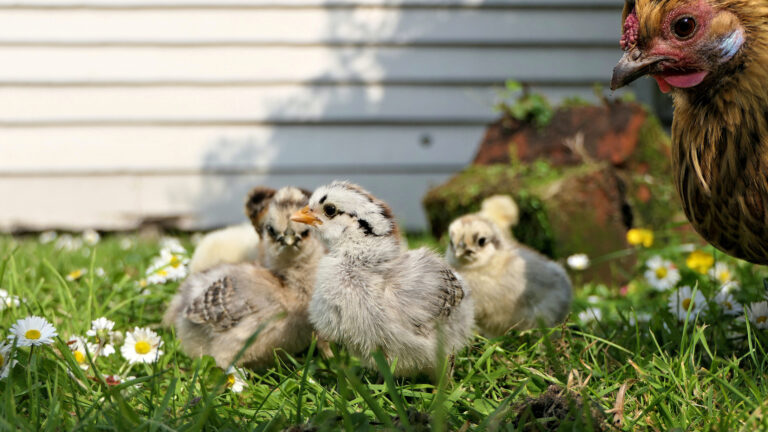
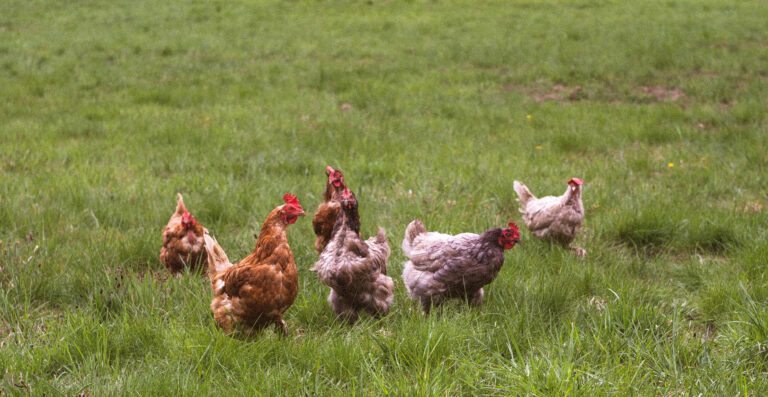
For my first time hatching eggs I did just OK. I had 41 eggs go in and about 6 were not fertile or just never developed. I had 21 hatch and one died the day after it hatched. I ended up with 20 babies that are about 11 weeks old now! I believe I have 8 roosters and 12 hens – not bad~
Hatching chickens can be a fun and rewarding experience, but it requires some attention to detail. By following these five steps, you can increase your chances of hatching healthy chicks successfully. Remember to choose fertile eggs, incubate them correctly, candle them regularly, prepare them for hatching during the lockdown, and allow the chicks to hatch naturally. With a bit of patience and care, you’ll soon have a flock of fluffy little birds.

